Skip to content

GMC Yukon 2019 Key Fob & Car Keys

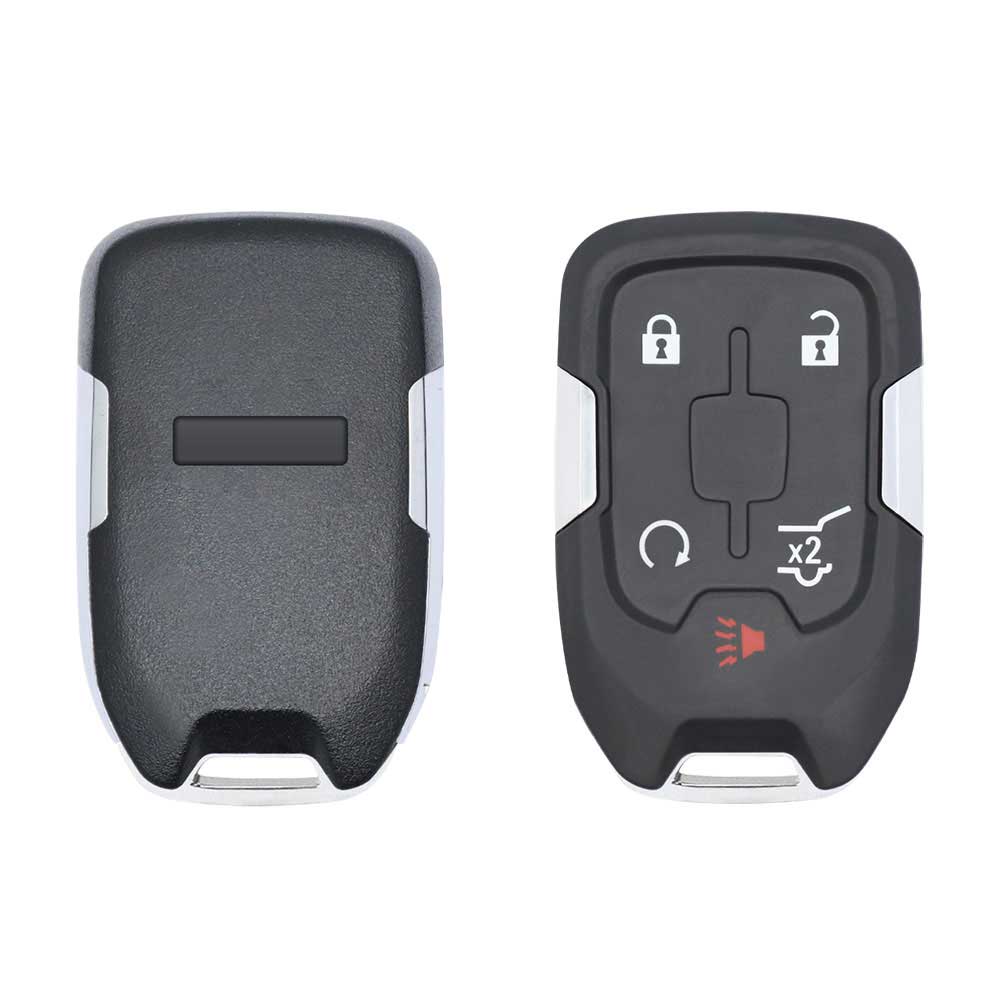
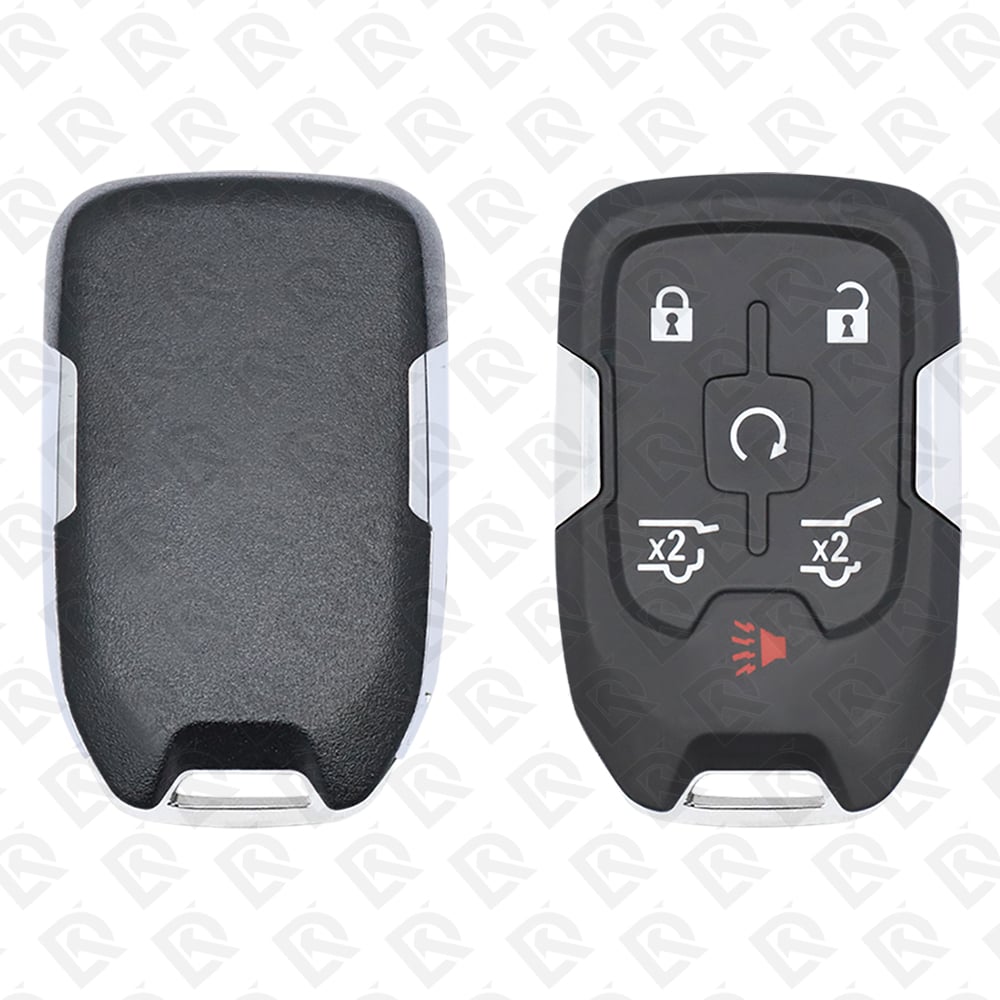
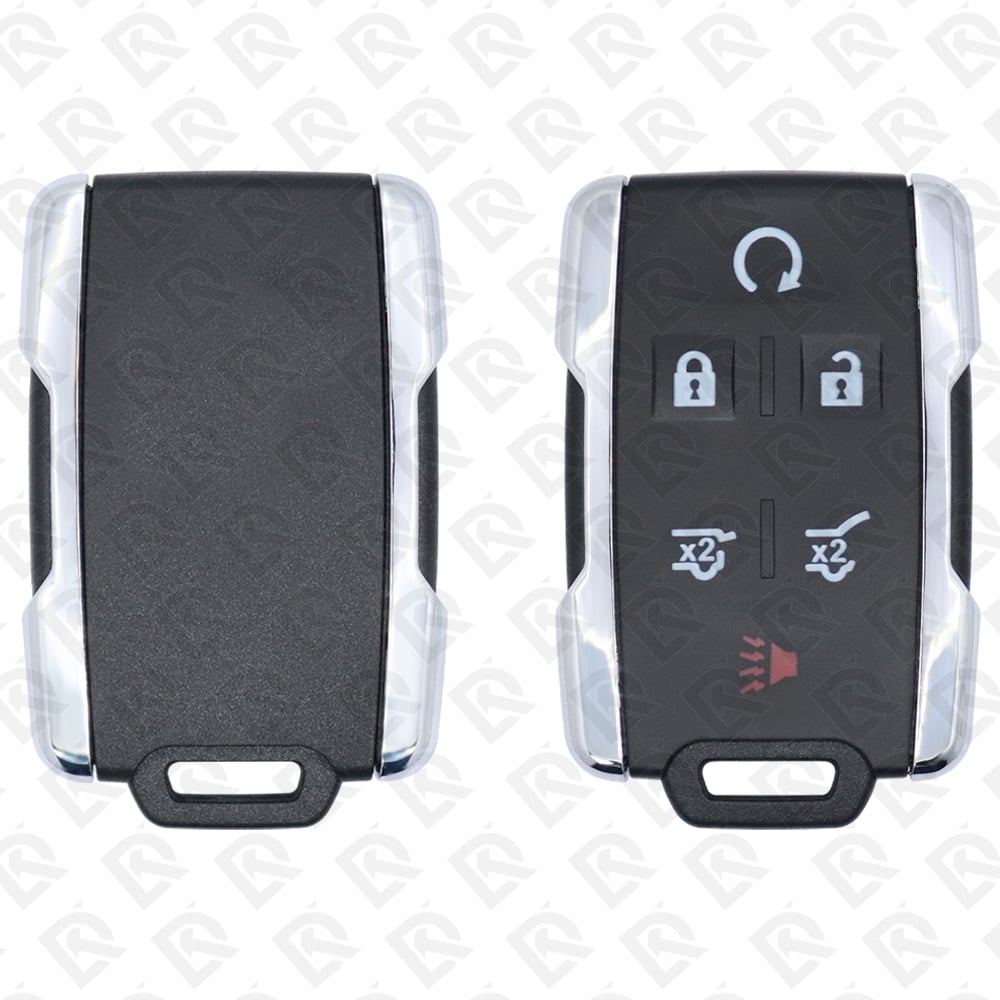
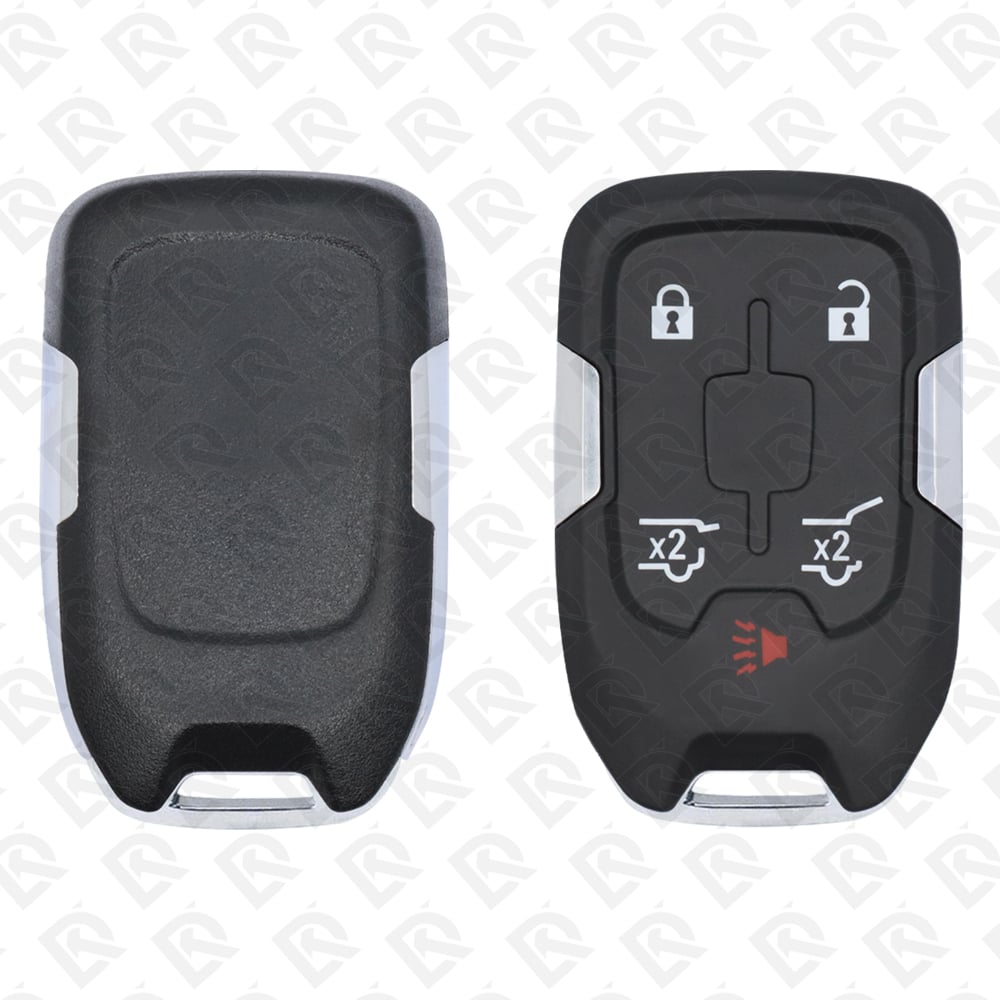
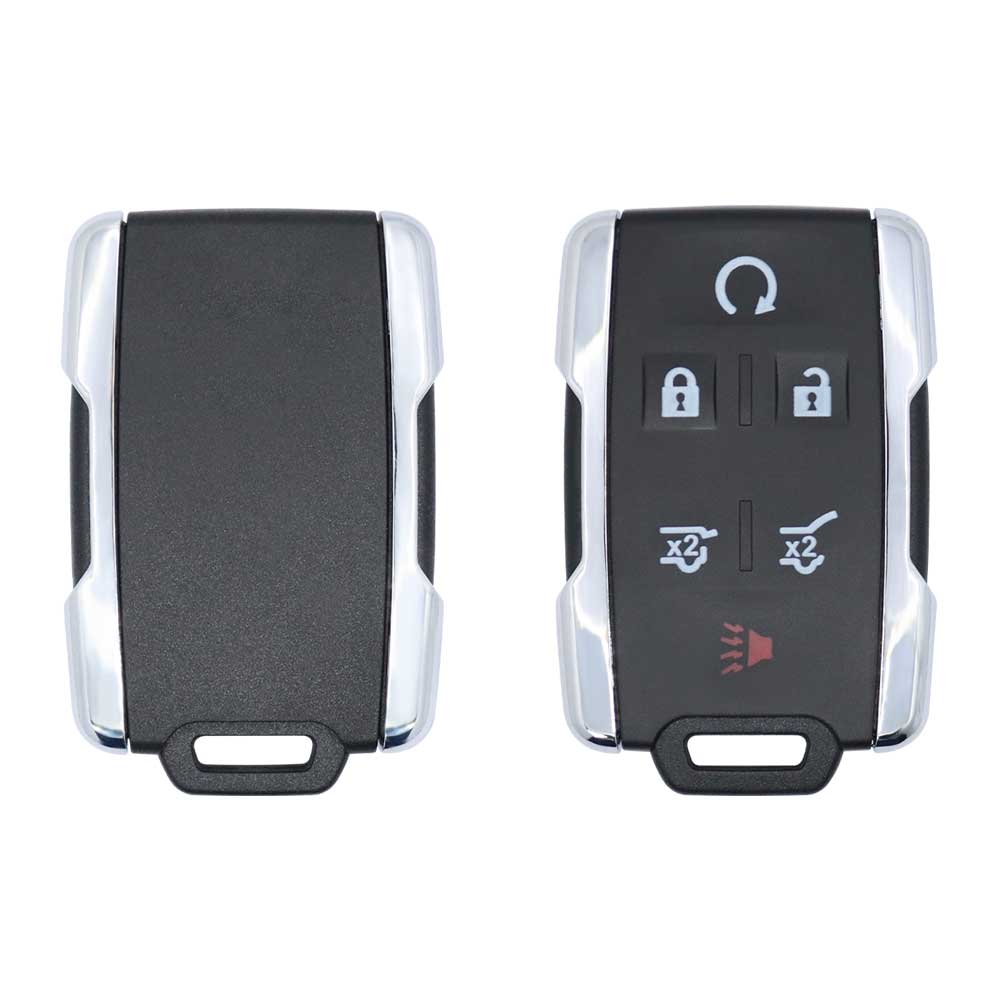
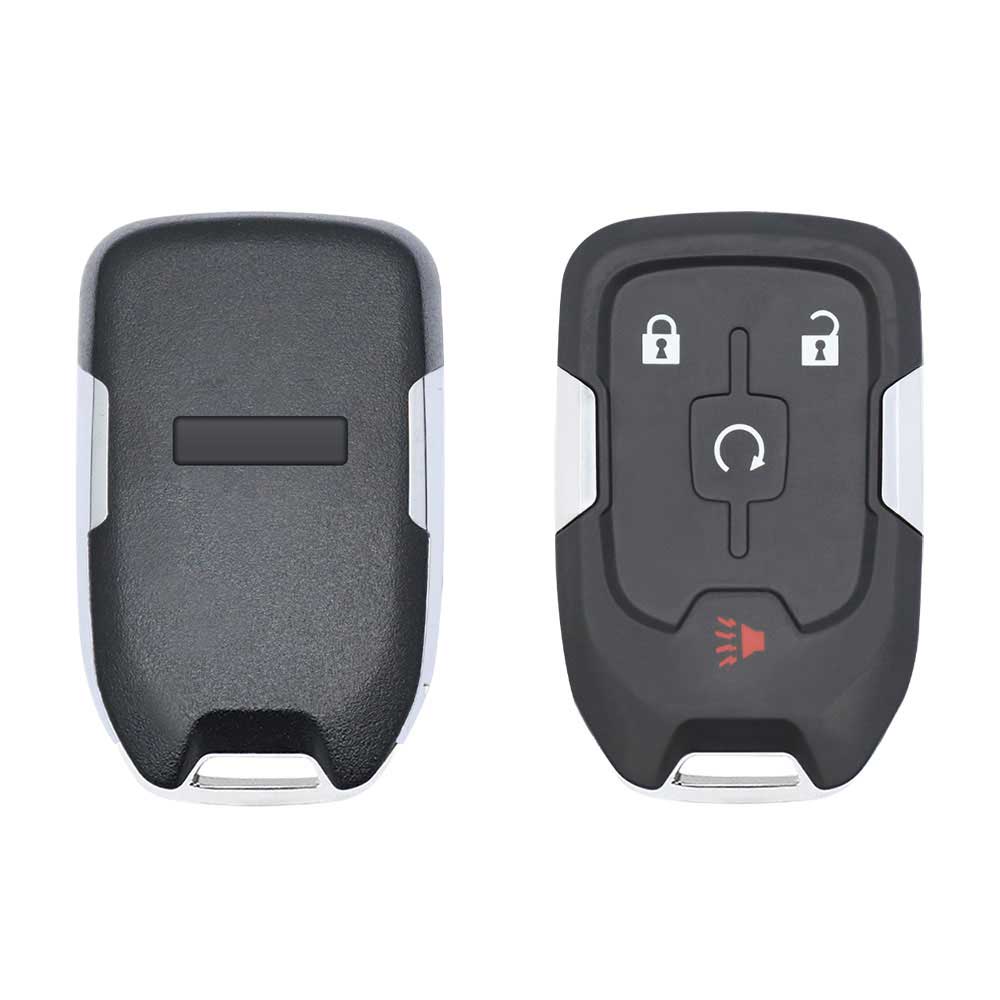
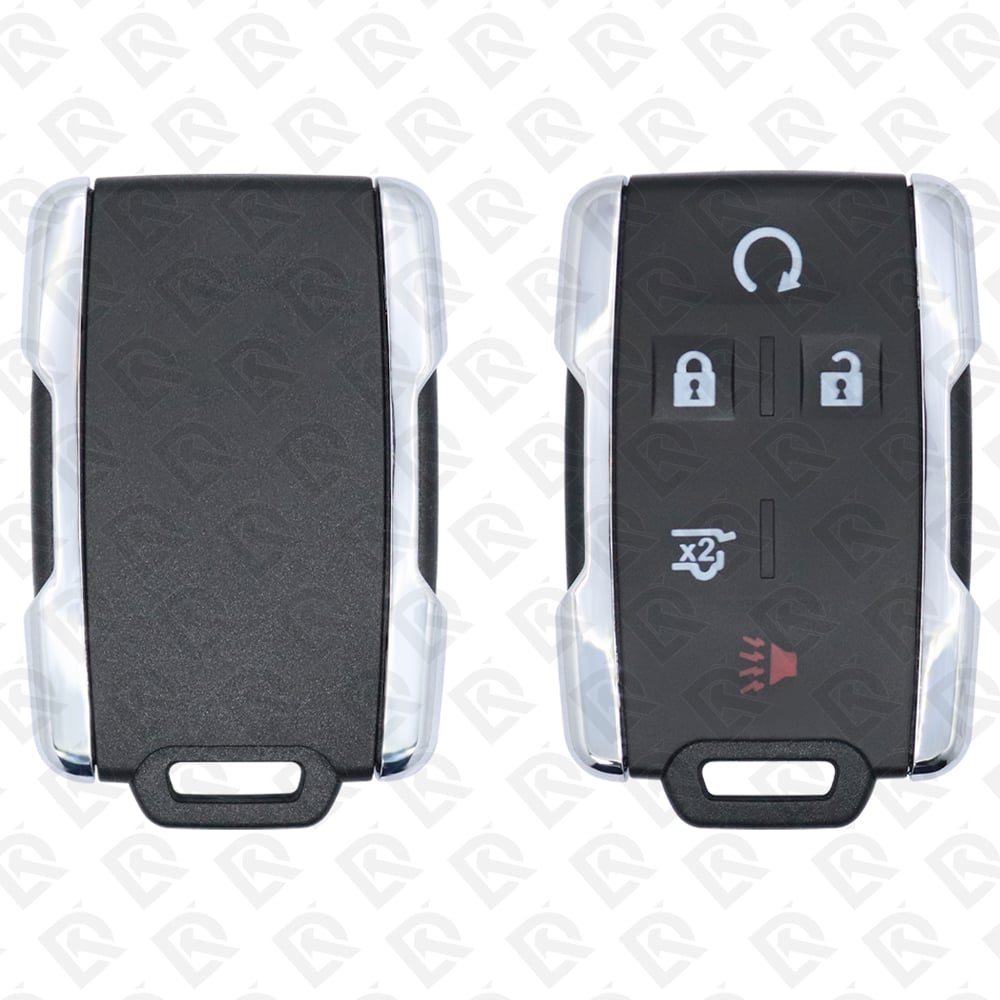
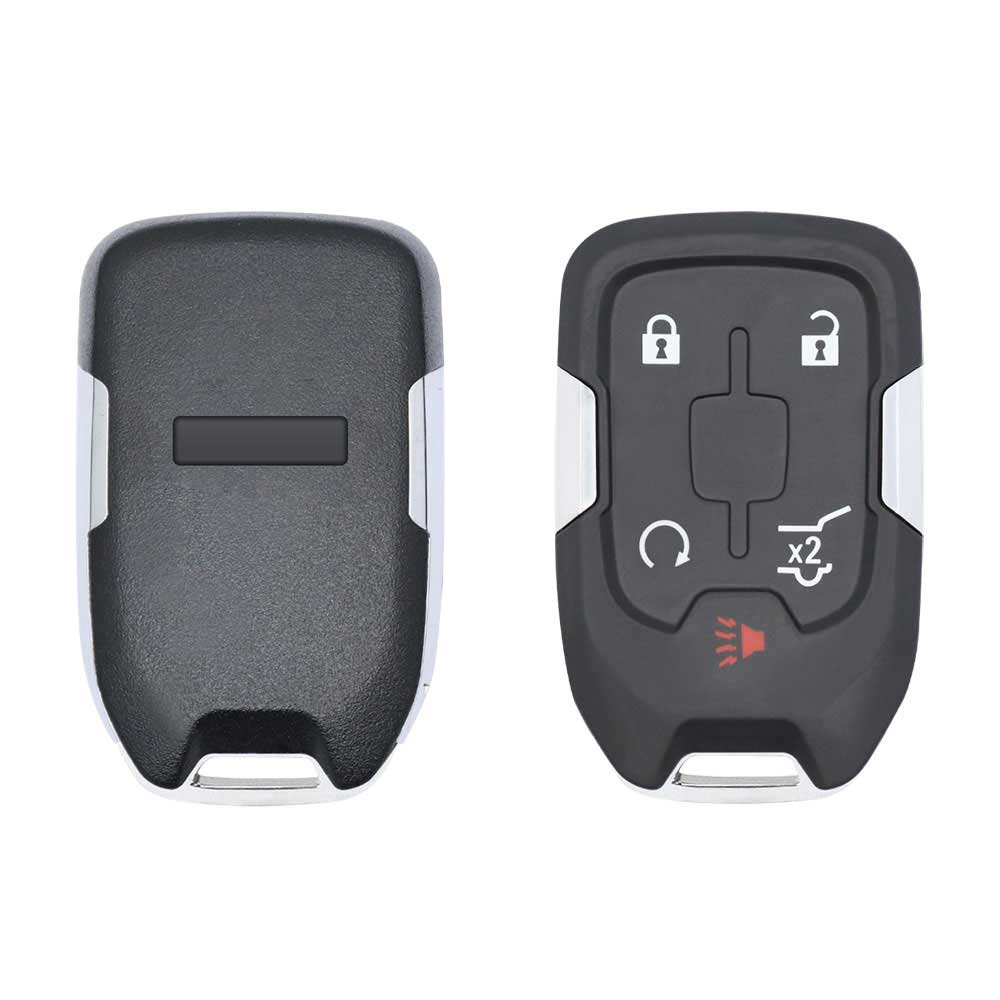
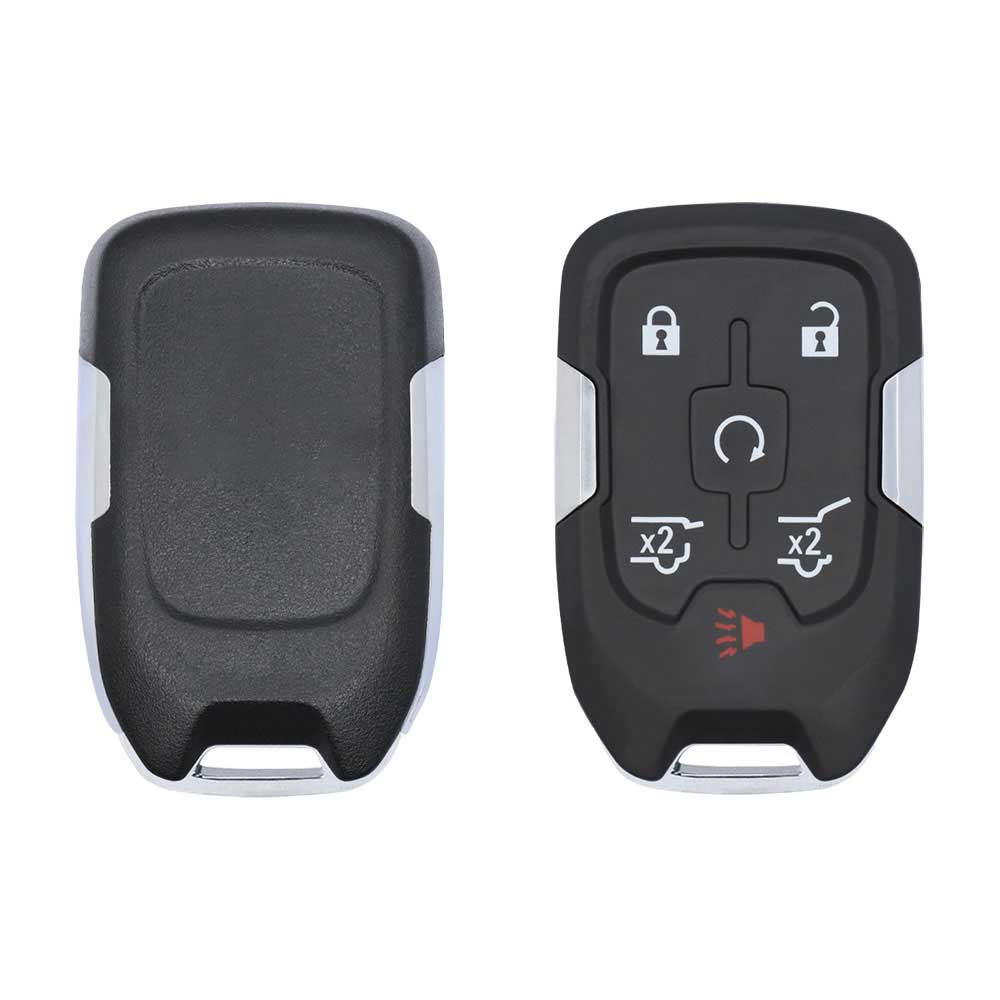
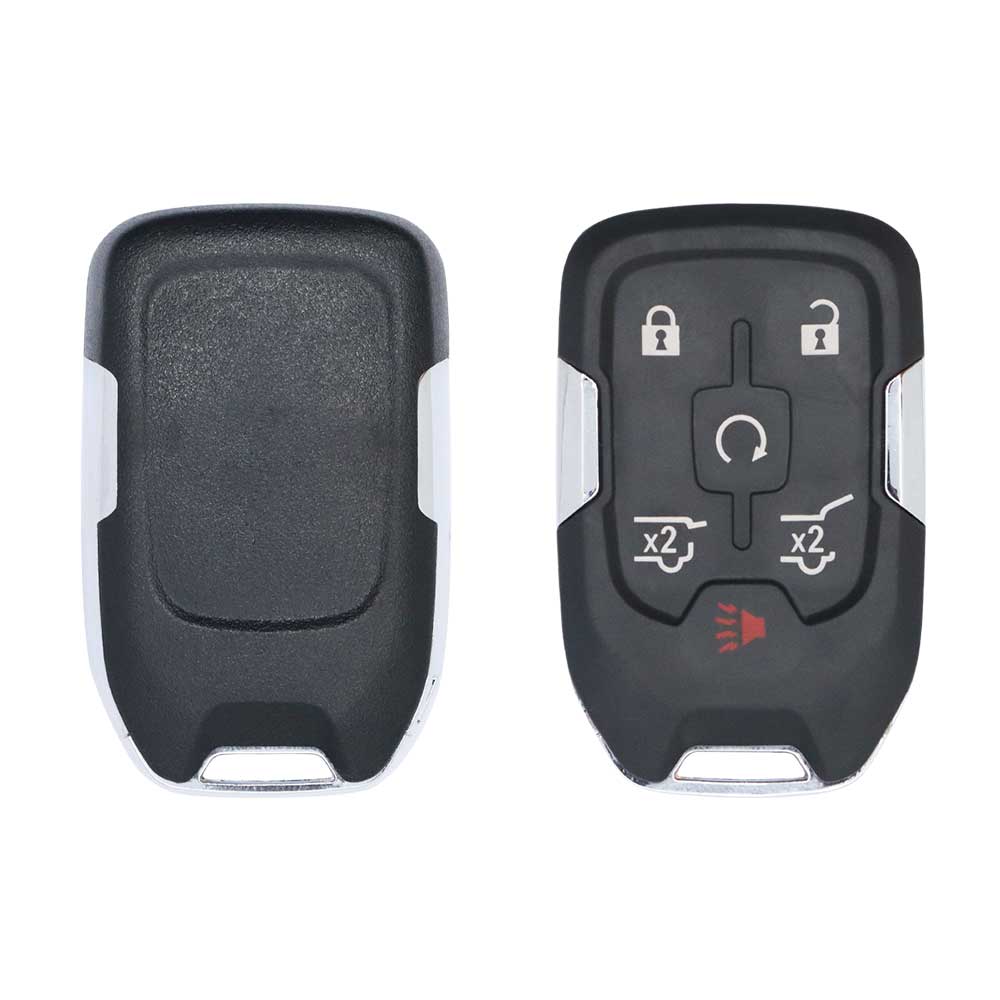
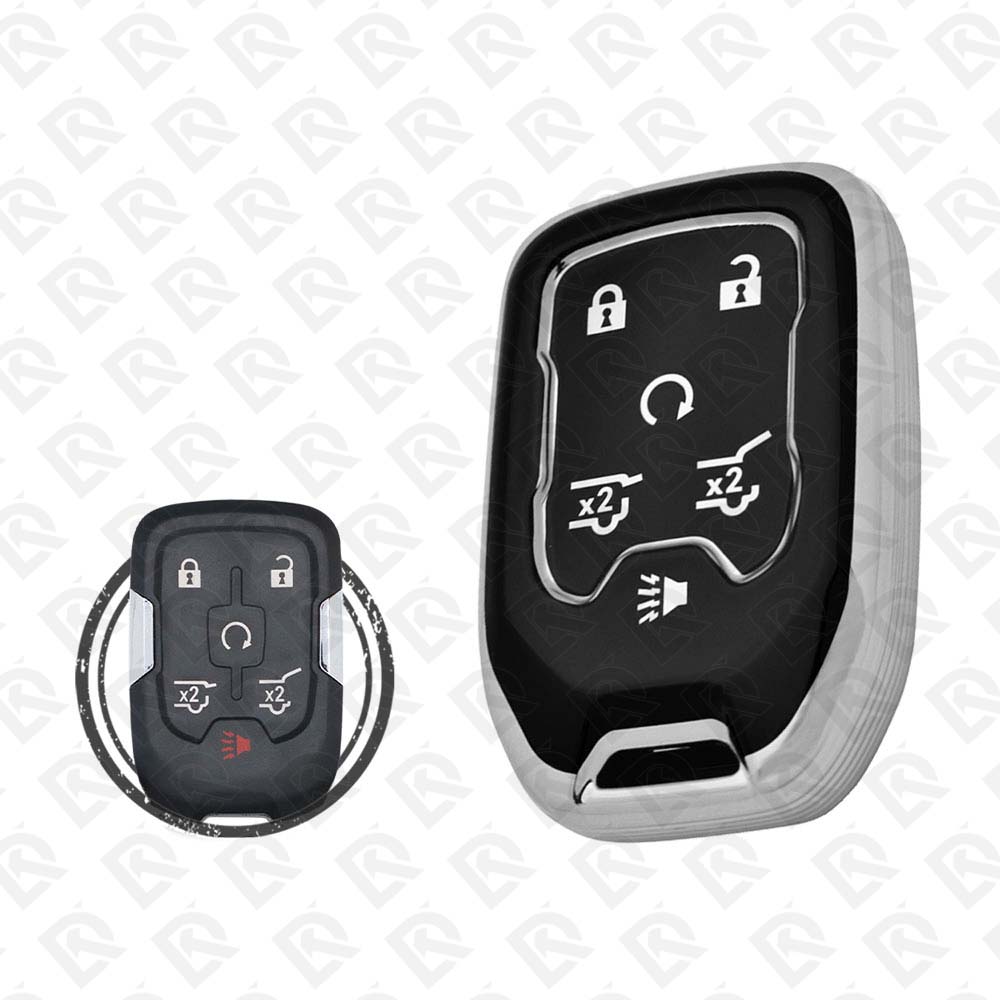
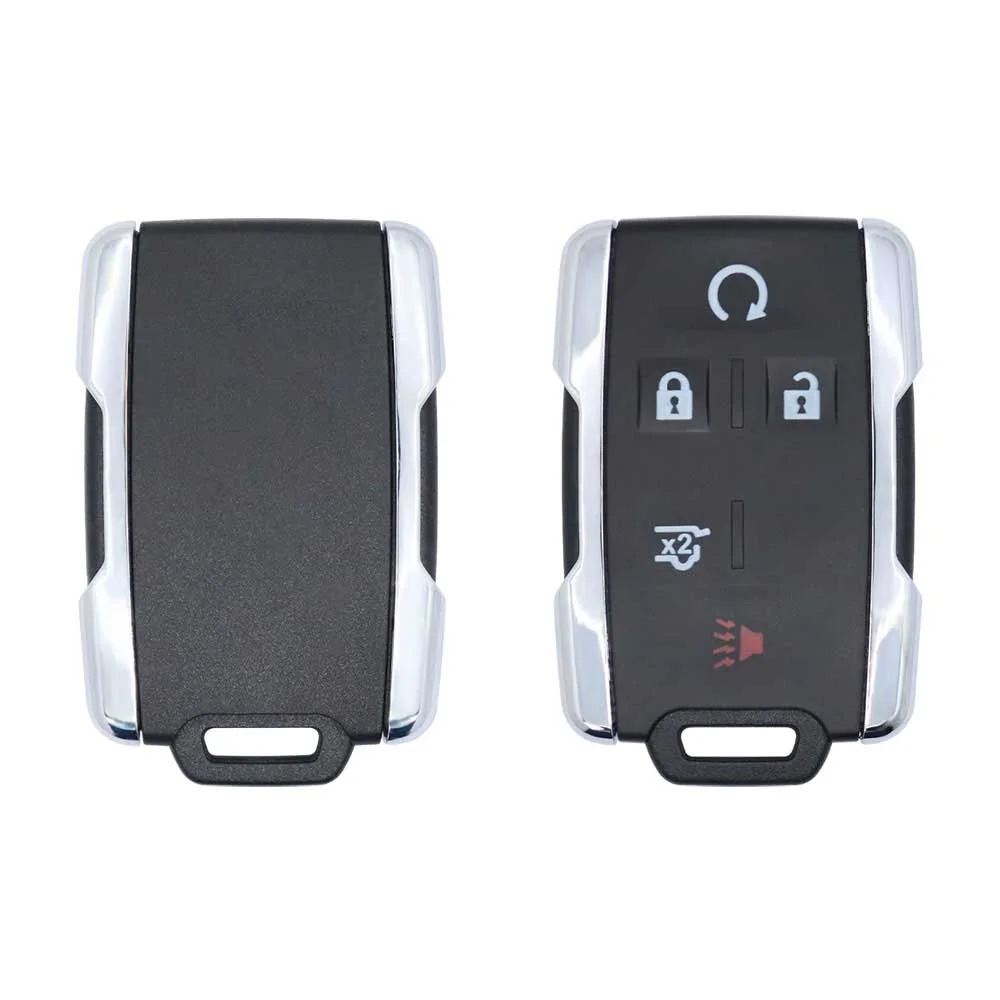
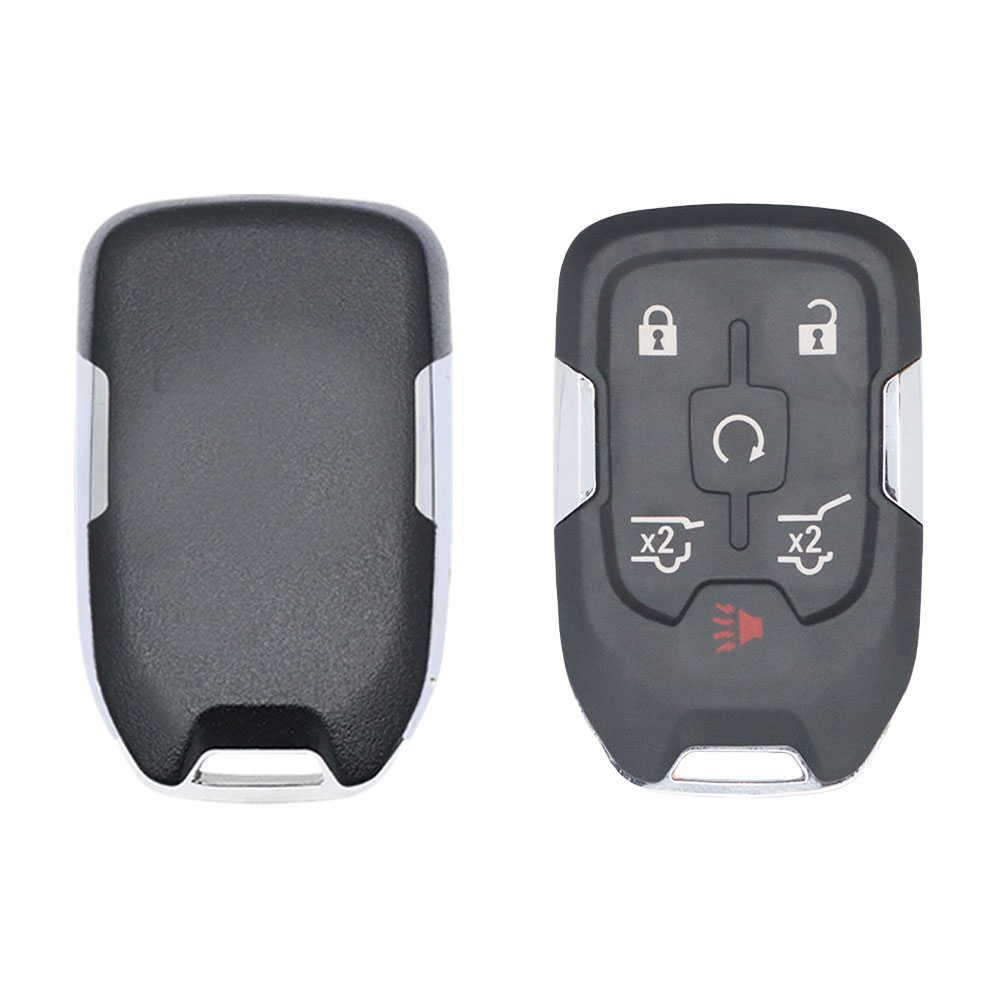
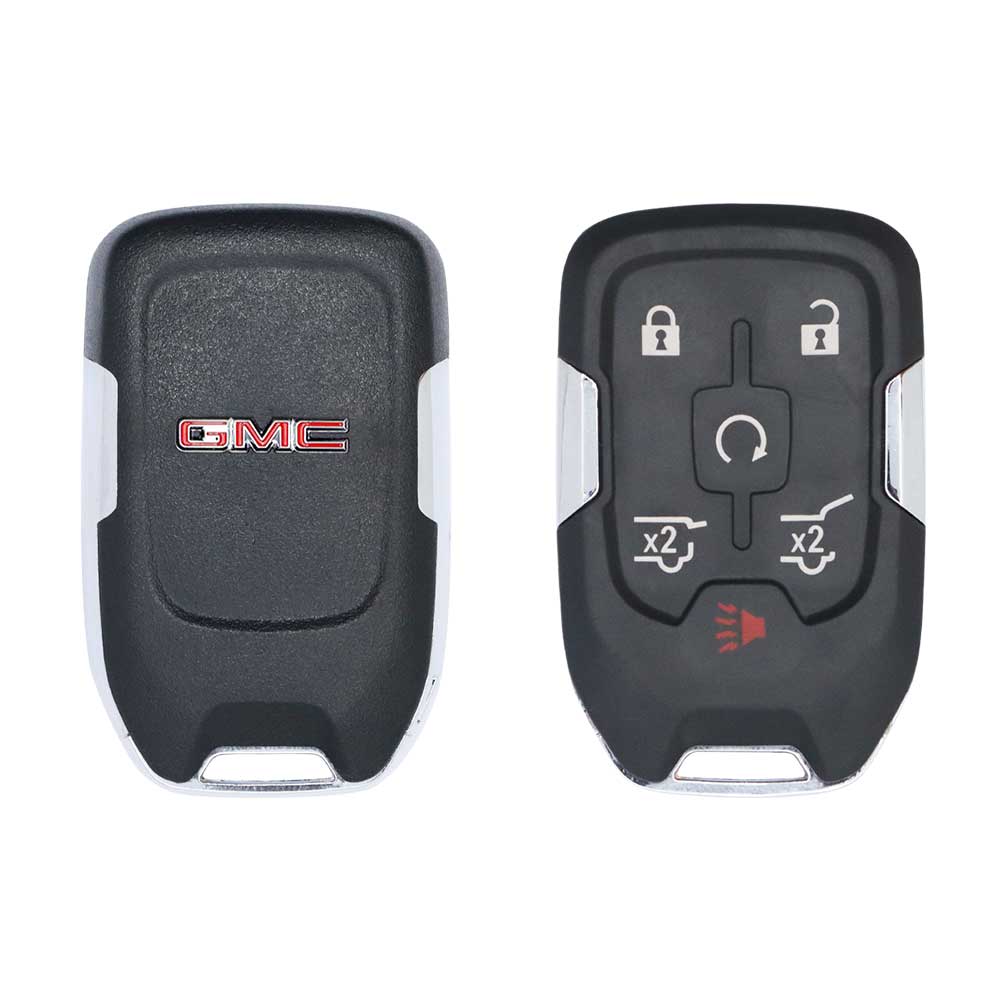
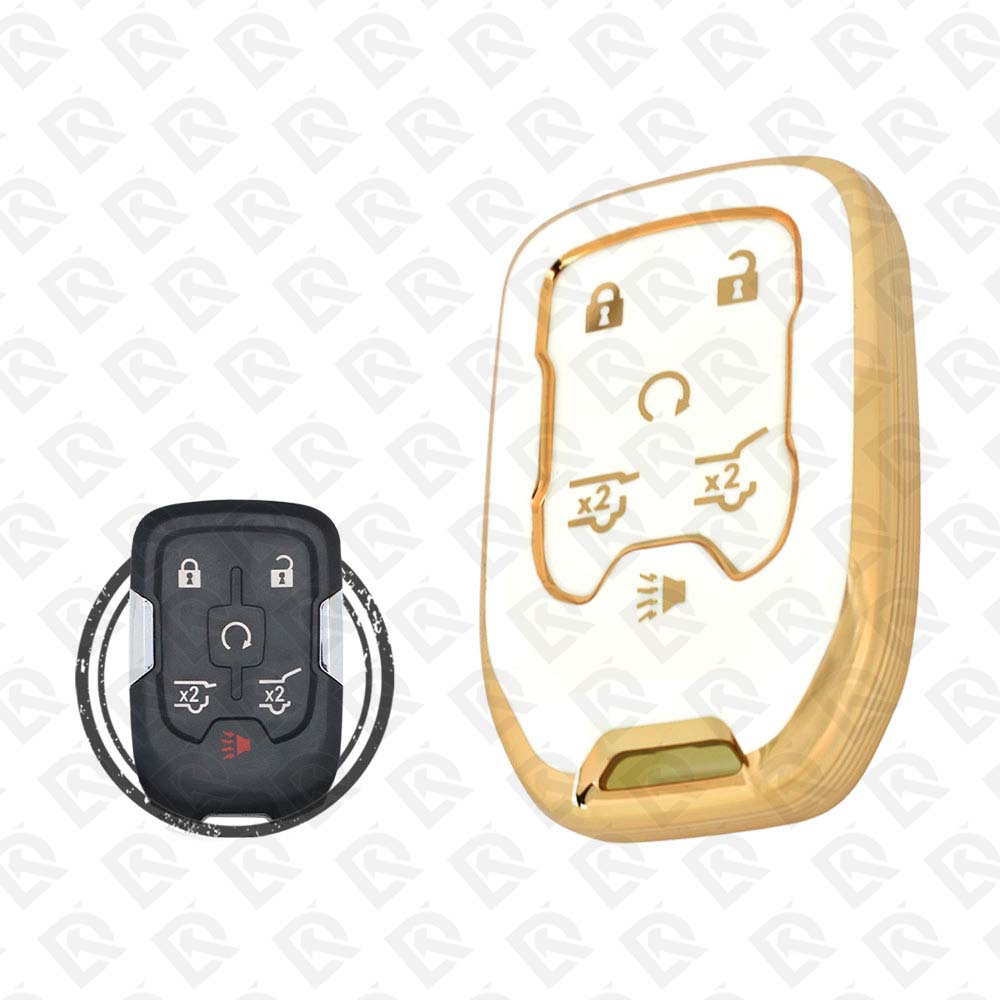
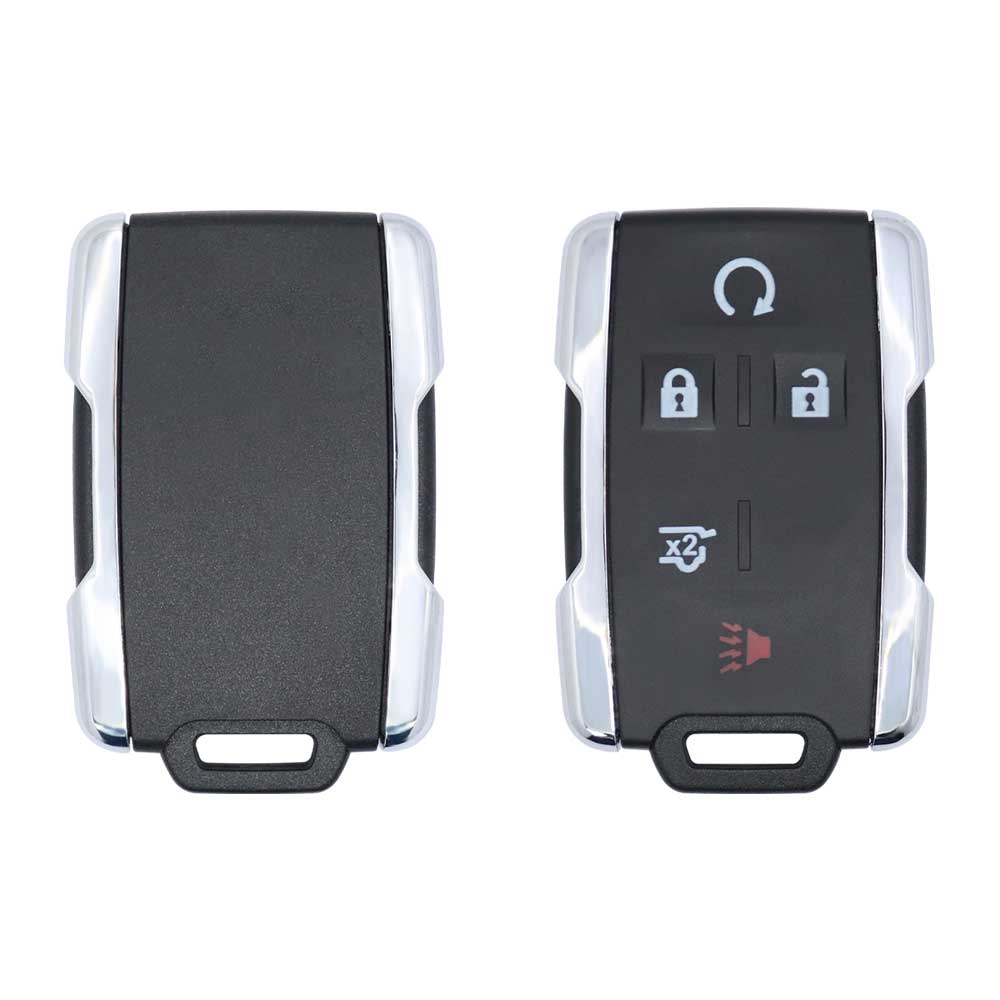
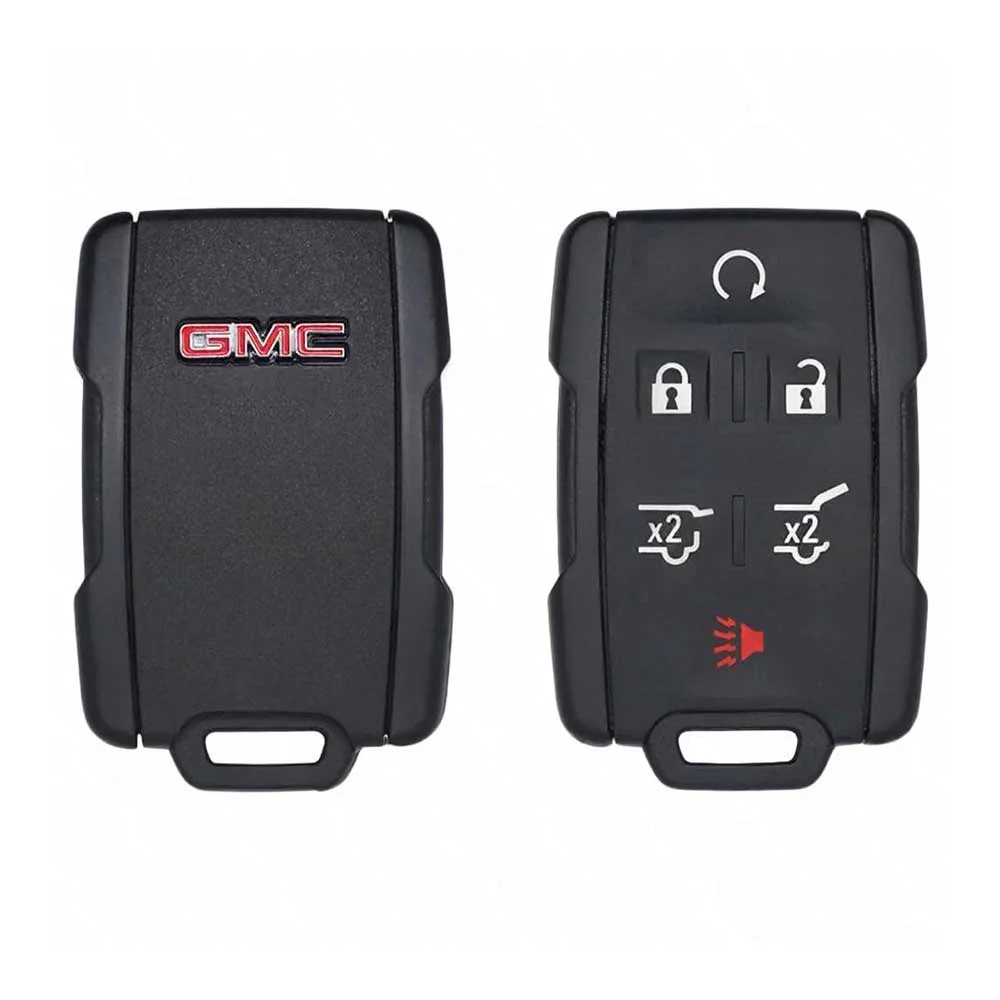
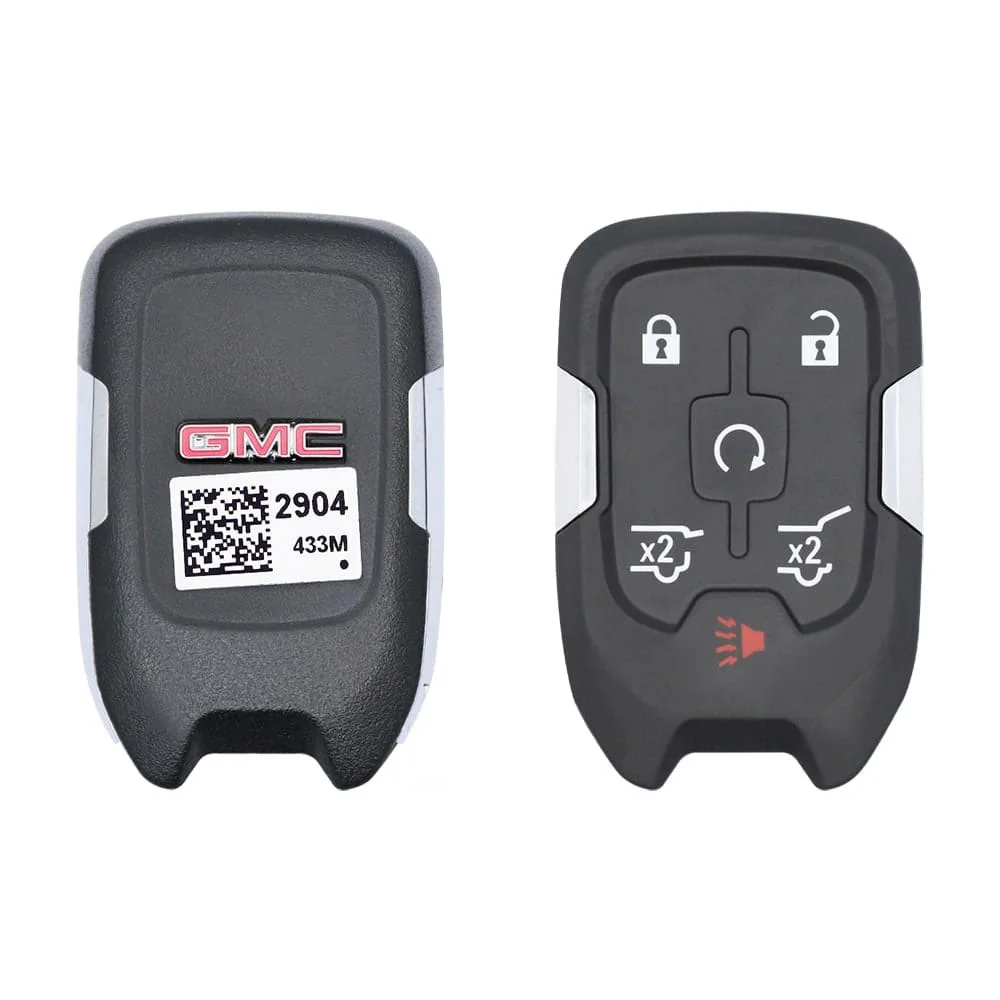
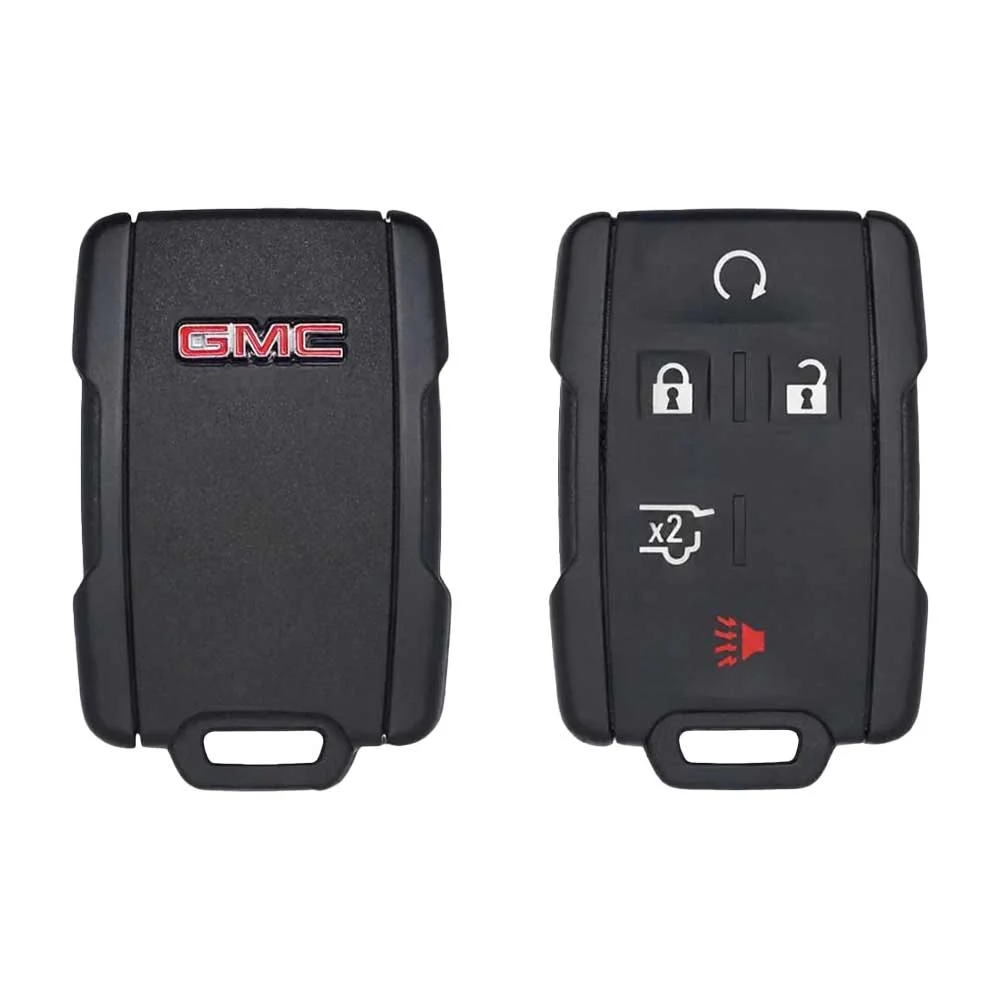
Keys that fit the 2019 GMC Yukon: smart keys, remote keys and transponder keys, 3, 4 or 5 buttons, FCC ID HYQ1EA, M3N32337100 or M3N32337200, ID46E (GM extended) or ID46 (HITAG 2) chip, 315 MHz or 433 MHz. 34 compatible keys, remotes & shells (genuine and aftermarket) available for the 2019 GMC Yukon.

Last updated: 17 November 2026

Key specifications for the GMC Yukon 2019

Key types
smart keys, remote keys, transponder keys, key shells, emergency blades and key blanks
Frequency
315 MHz and 433 MHz
Buttons
3-, 4-, 5- and 6-button
Transponder chip
ID46E (GM extended) · ID46 (HITAG 2)
Blade profile
HU100
Part numbers
22881480 · 13577771 · 13580802 · For GM 13580079 · 22859389 · 13580079
Battery
CR2032

To pick the right part, match the part number or FCC ID printed on your original remote, or listed in the GMC parts catalogue, with the specifications on each listing. The frequency depends on the market the car was sold in, so check 315 MHz and 433 MHz against your original before ordering.

A new smart key or remote has to be programmed to the car with a key programmer, and when every key is lost the programming is still done through the diagnostic port. We ship the key worldwide from the UAE by DHL and FedEx; any automotive locksmith or the dealer can cut and program it.

Programming the GMC Yukon 2019 key

Smart key (push to start)

6 tools list this key. 3 of them list all keys lost.

Programming steps

Add key - on the car(US / Canada cars)

Needs: two working smart keys, new smart key

  1. Have the vehicle off and every smart key (two working ones and the new ones) with you.
  2. Put the two working smart keys in the cupholder (or the place the owner's manual names).
  3. Remove the key blade, insert it in the driver door lock cylinder and turn to unlock five times within 10 seconds; the DIC shows READY FOR REMOTE #2, 3...
  4. Place the new smart key in the transmitter pocket and press ENGINE START/STOP; the DIC shows it is ready for the next one.
  5. Take the key out of the pocket and press lock or unlock on it.
  6. Repeat steps 4-5 for each new key, then hold ENGINE START/STOP about 12 seconds to leave programming mode.
Watch out: From 2017 the quick learn needs two learned keys.
Add key - on the car(US / Canada cars)

Needs: With two recognized transmitters, the two recognized transmitters, every new remote to program

  1. Switch the car off. Pull the key blade out of a programmed remote and put the two recognized transmitters in the cup holder or on the passenger seat.
  2. Take off the lock cylinder cap on the driver's door handle.
  3. Insert a key blade in the driver's door lock and turn it toward UNLOCK (counterclockwise) five times within 10 seconds. The DIC shows READY FOR REMOTE #2, 3, 4, ETC.
  4. Put the new remote in the remote pocket in front of the center console storage area (open the storage area and its tray).
  5. Press ENGINE START/STOP. Once the remote is learned, the DIC asks for the next one.
  6. Take the remote out and press its LOCK or UNLOCK button.
  7. For each extra remote, repeat the last three steps.
  8. Hold ENGINE START/STOP for about 12 seconds to exit programming mode, then put the key blades back in the remotes.
Watch out: The car must be off and the two recognized transmitters must be inside; without them, use the 30-minute procedure.
Add key - on the car(US / Canada cars)

Needs: No programmed smart key available (relearn all), every remote to program, all in hand

  1. Switch the car off and pull the key blade out of a remote.
  2. Insert the key blade in the driver's door lock and turn it toward UNLOCK (counterclockwise) five times within 10 seconds. The DIC shows REMOTE LEARN PENDING, PLEASE WAIT.
  3. Wait 10 minutes until the DIC shows PRESS ENGINE START BUTTON TO LEARN, then press ENGINE START/STOP. REMOTE LEARN PENDING, PLEASE WAIT shows again.
  4. Do the previous step two more times (three 10-minute waits in all). The DIC then shows READY FOR REMOTE # 1.
  5. Put the first remote in the remote pocket in front of the center console storage area (open the storage area and its tray).
  6. Press ENGINE START/STOP. Once the remote is learned, the DIC asks for the next one.
  7. Take the remote out and press its LOCK or UNLOCK button.
  8. Repeat the last three steps for every other remote.
  9. Hold ENGINE START/STOP for about 12 seconds to exit programming mode, then put the key blades back in the remotes.
Watch out: After the third wait cycle every remote stored before stops working; relearn every remote the customer keeps. Up to eight remotes can be programmed. Not available on Canadian cars. The procedure takes about 30 minutes.
All keys lost - on the car(US / Canada cars)

Needs: every smart key to be kept, 30 minutes

  1. Have every smart key the customer keeps with you; the blade of the new key must be cut if no key works.
  2. With the vehicle off, insert the key blade in the driver door lock cylinder and turn to unlock five times within 10 seconds; the DIC shows REMOTE LEARN PENDING, PLEASE WAIT.
  3. Wait about 10 minutes until the DIC shows PRESS ENGINE START BUTTON TO LEARN, then press ENGINE START/STOP.
  4. Repeat the 10-minute wait and button press two more times (about 30 minutes in all); the DIC then shows READY FOR REMOTE #1.
  5. Place a smart key in the transmitter pocket and press ENGINE START/STOP; the DIC moves to the next number.
  6. Take it out, press lock or unlock, and repeat for every key the customer keeps.
  7. Hold ENGINE START/STOP about 12 seconds to leave programming mode, then test every key.
Watch out: After the third cycle every previously known smart key is erased: relearn all of them in the same session. Not available in Canada (owner's manual).

Key with a blade (regular or flip)

2 tools list this key. 2 of them list all keys lost.

    • Add key(US / Canada cars)
    • All keys lost(US / Canada cars)
  • XTOOL X100 PAD3 / X100 MAX
    • Add key
    • All keys lost
    PIN read function

Programming steps

Add key - on the car(US / Canada cars)

Needs: two working keys, new key cut to the vehicle

  1. Cut the new key; have two different keys that already start the vehicle.
  2. Put the first working key in, turn to ON/RUN, then LOCK/OFF and remove it.
  3. Within five seconds put the second working key in, turn to ON/RUN, then LOCK/OFF and remove it.
  4. Within five seconds put the new key in and turn it to ON/RUN; the security light goes off when it is learned.
  5. Start the engine with the new key; repeat from step 2 for each further key.
Watch out: From 2017 this quick learn will not finish with one working key: the theft light stays on. With one key use a tool or the 30-minute procedure. Keeps all existing keys; adds the new one in the next free slot.
Add key - Autel MaxiIM IM508 / IM608(US / Canada cars)

Needs: new key cut to the vehicle, PIN read by OBD (online), internet connection

  1. Connect the tool to OBD with an internet connection and a battery maintainer; identify the vehicle by VIN (automatic selection).
  2. Run the immobilizer status scan.
  3. Choose Add key; the tool reads the 4-digit PIN by OBD (online).
  4. Clear the trouble codes when the tool offers it.
  5. Insert the new key, turn ON and follow the ignition and driver-door prompts until the tool reports the key learned.
  6. Start the engine with every key.
Watch out: Adding a key does not erase the keys already stored.
All keys lost - on the car(US / Canada cars)

Needs: new keys cut to the vehicle, 30 minutes

  1. Cut the new key. Have every key the customer keeps; the old keys stop working at the end.
  2. Insert the new key and turn to ON/RUN without cranking; the security light comes on.
  3. Wait about 10 minutes until the security light goes off, then turn to LOCK/OFF.
  4. Repeat ON/RUN, wait 10 minutes, LOCK/OFF two more times (about 30 minutes in all).
  5. After the third cycle turn to ON/RUN: this key is learned and every previously known key is erased.
  6. Switch OFF, insert the second new key and turn it to ON/RUN to learn it; further keys then use the two-key procedure.
Watch out: All previously learned keys are erased. U.S. only: GM's manuals say Canadian owners must use the dealer.
All keys lost - Autel MaxiIM IM508 / IM608(US / Canada cars)

Needs: new keys cut to the vehicle, PIN read by OBD (online), internet connection

  1. Connect the tool to OBD with an internet connection and a battery maintainer; identify the vehicle by VIN (automatic selection).
  2. Run the immobilizer status scan.
  3. Choose All keys lost; the tool reads the 4-digit PIN by OBD (online).
  4. Clear the trouble codes when offered.
  5. Learn the first key: ignition ON and follow the ignition / driver-door prompts until the tool confirms.
  6. Learn each further key the customer keeps in the same session, then test all of them.
Watch out: All stored keys are erased: bring every key to be kept. Keep the battery charged; a low battery can leave the vehicle not starting.

Key type not stated by the list

One tool lists this key.

  • Launch X-431 IMMO
    • Add key
    • All keys lost
    PIN read function

Without a tool

The remote is programmed on the car, without a tool. Up to 8 remotes.

When the key changed

Smart key (push to start)

  • 2015 - 2020This yearChip: ID46Blade: HU100FCC: HYQ1AA, HYQ1EAHYQ1AA is 315 MHz, HYQ1EA is 433 MHz: read the FCC ID.
  • 2021 - 2024Chip: ID49433 MHzBlade: HU100FCC: YG0G21TB2Hitag Pro key, not compatible with the 2015-2020 ID46 key.

Key with a blade (regular or flip)

  • 1998 - 2006Chip: None (PassLock)(US / Canada cars)No chip in the key; PassLock sensor sits in the ignition lock.
  • 2007 - 2014Chip: ID46Blade: B111(US / Canada cars)Circle Plus key.
  • 2015 - 2020This yearChip: ID46 Hitag2 ExtendedBlade: HU100(US / Canada cars)Key-start trims; HU100 blade.

Check coverage first: support depends on the tool's software version and the exact model. A tool that is not shown here may still cover this car.

Frequently asked questions

Which keys fit the GMC Yukon 2019?

34 listings fit the GMC Yukon 2019: smart keys, remote keys, transponder keys, key shells, emergency blades and key blanks, in 3-, 4-, 5- and 6-button versions. Match the part number or FCC ID printed on your original key with the specifications on each listing.

What frequency does the GMC Yukon 2019 remote use?

Listings for the GMC Yukon 2019 come in 315 MHz and 433 MHz: the frequency depends on the market the car was sold in, so check it against your original remote before ordering.

Which transponder chip does the GMC Yukon 2019 key use?

The listings for this car carry: ID46E (GM extended) · ID46 (HITAG 2). Check the chip in each listing's specifications.

Which FCC IDs do GMC Yukon 2019 remotes carry?

The remotes listed for this car carry FCC ID HYQ1AA, HYQ1AS, HYQ1EA, M3N32337100 and M3N32337200. Match it with the FCC ID printed on your original remote.

Which blade profile does the GMC Yukon 2019 key use?

The blades listed for this car: HU100.

Which tools program a GMC Yukon 2019 key?

The tool makers' coverage lists name OBDSTAR Key Master G3, Lonsdor K518, XTOOL X100 PAD3 / X100 MAX, Autel KM100 (IKEY universal smart key), Xhorse VVDI Key Tool Max and Xhorse VVDI Key Tool Plus for this car; 3 of them list all keys lost. Check your tool's latest coverage list before the job.

Can the GMC Yukon 2019 remote be programmed without a tool?

The remote is programmed on the car, without a tool. Up to 8 remotes.