Skip to content

Toyota Avalon 2006 Key Fob & Car Keys

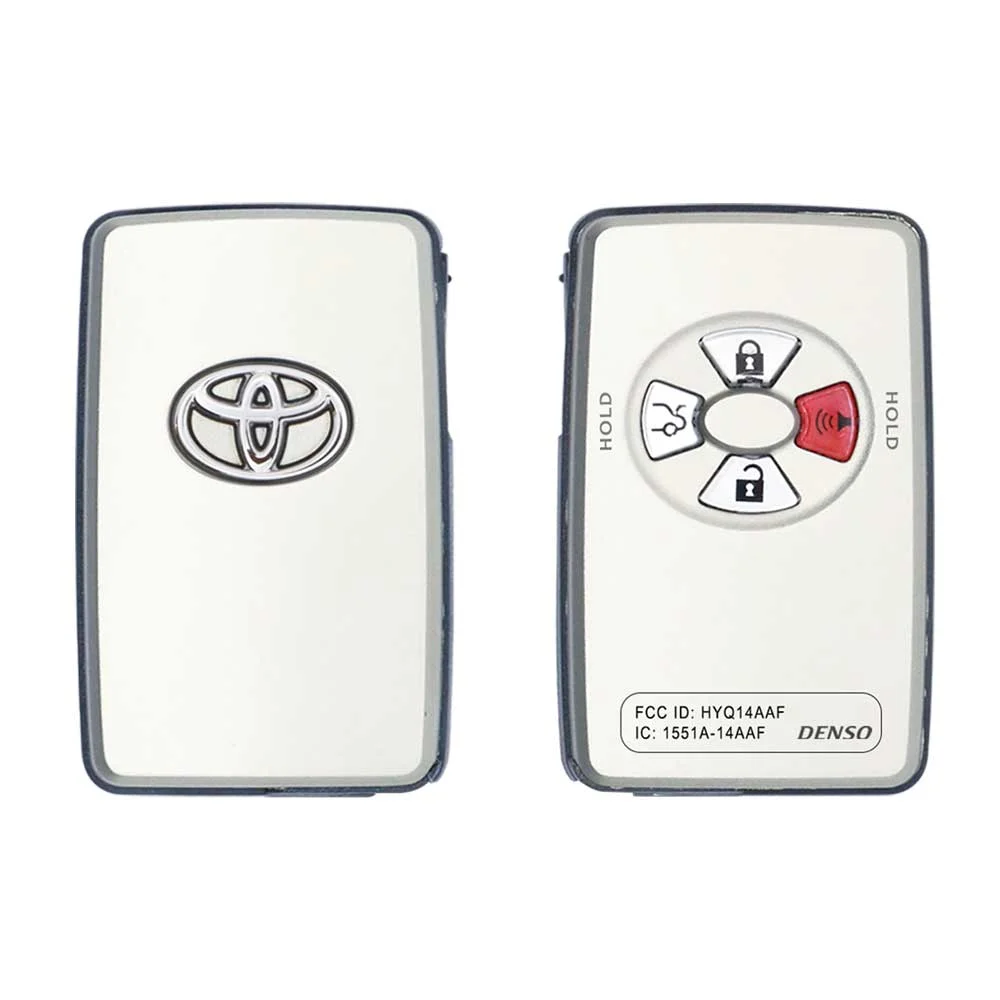
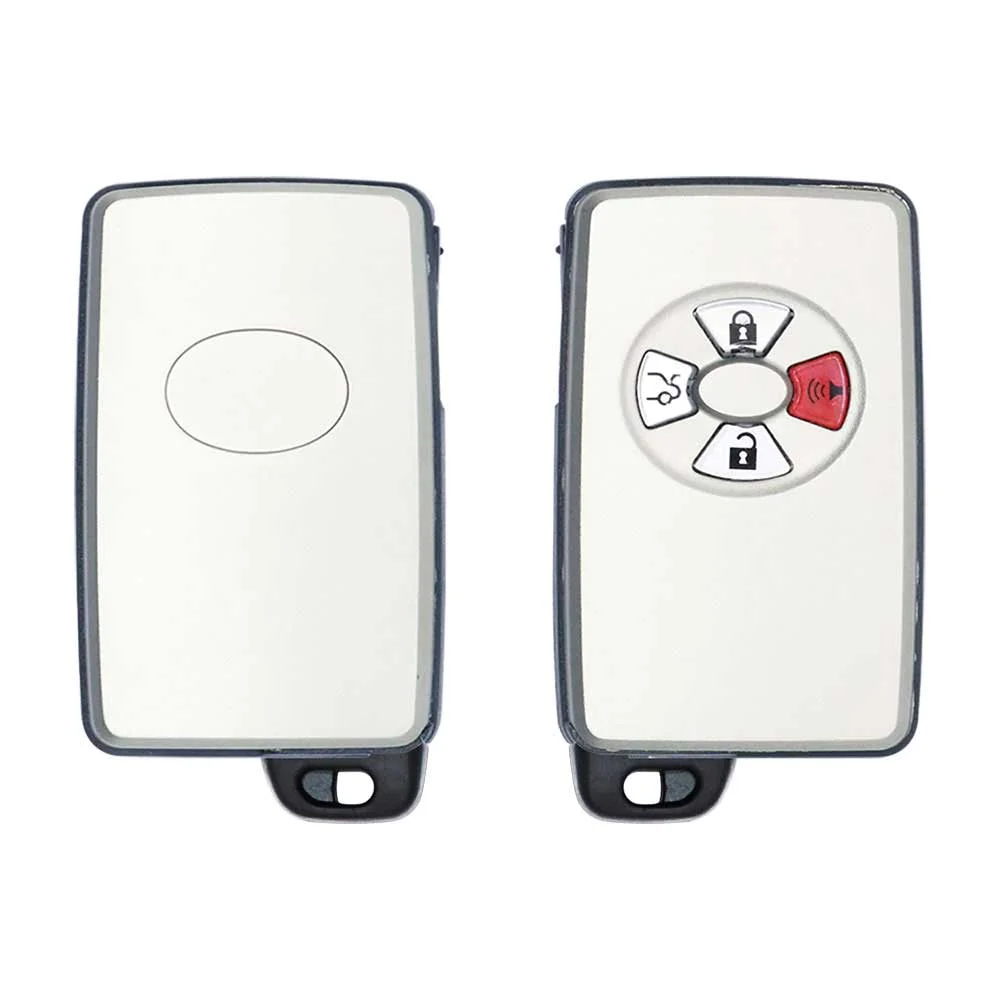
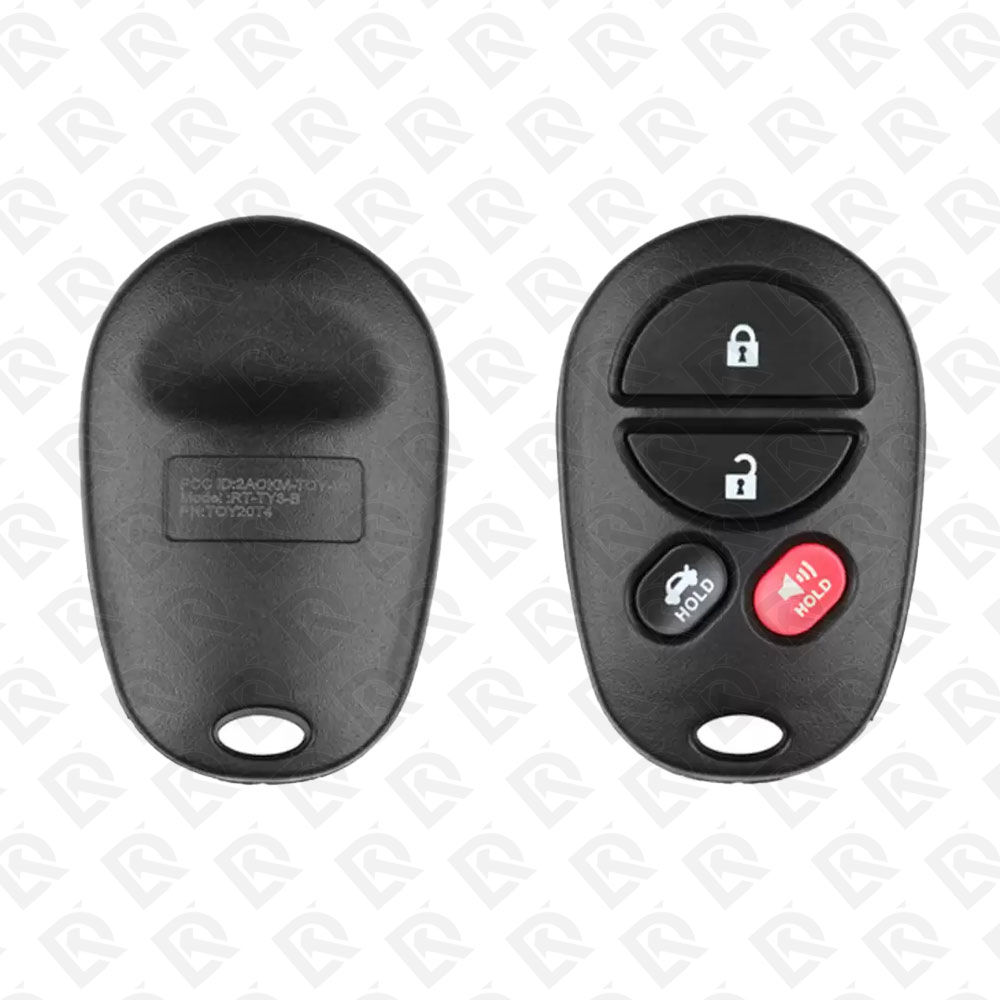
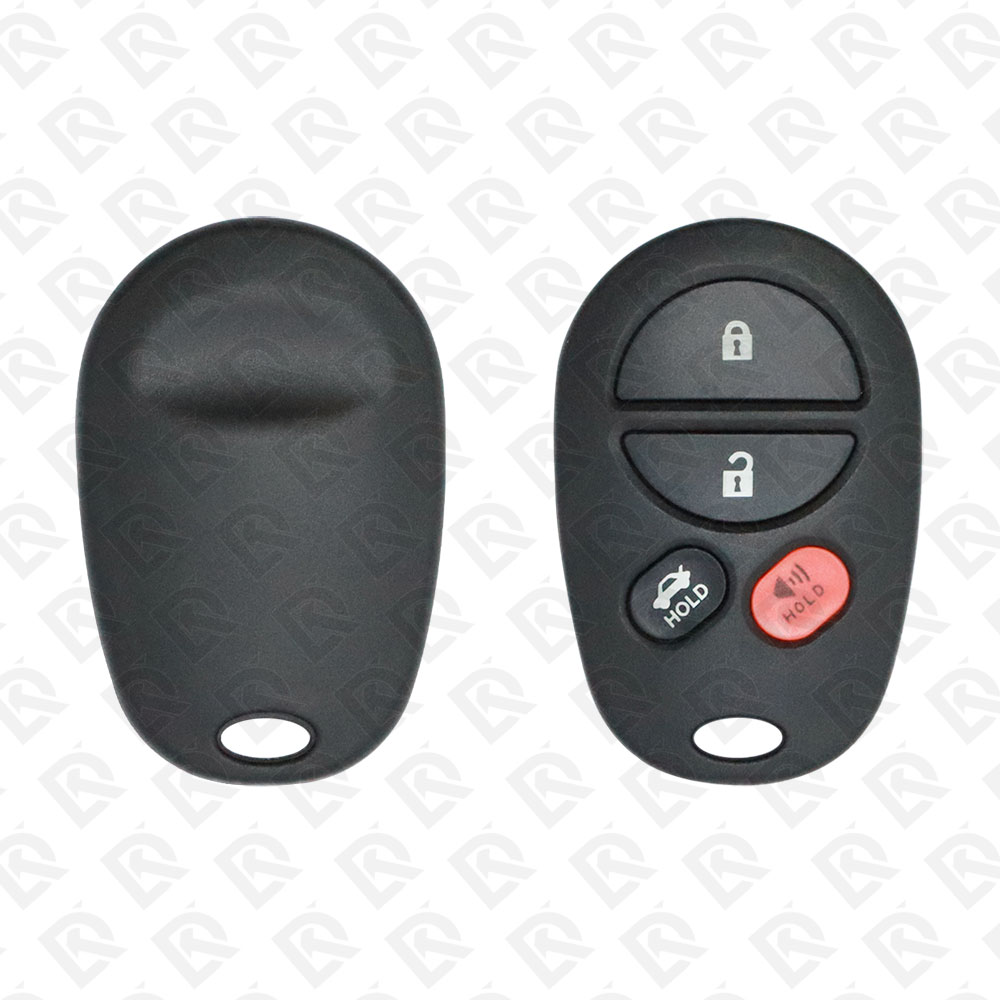
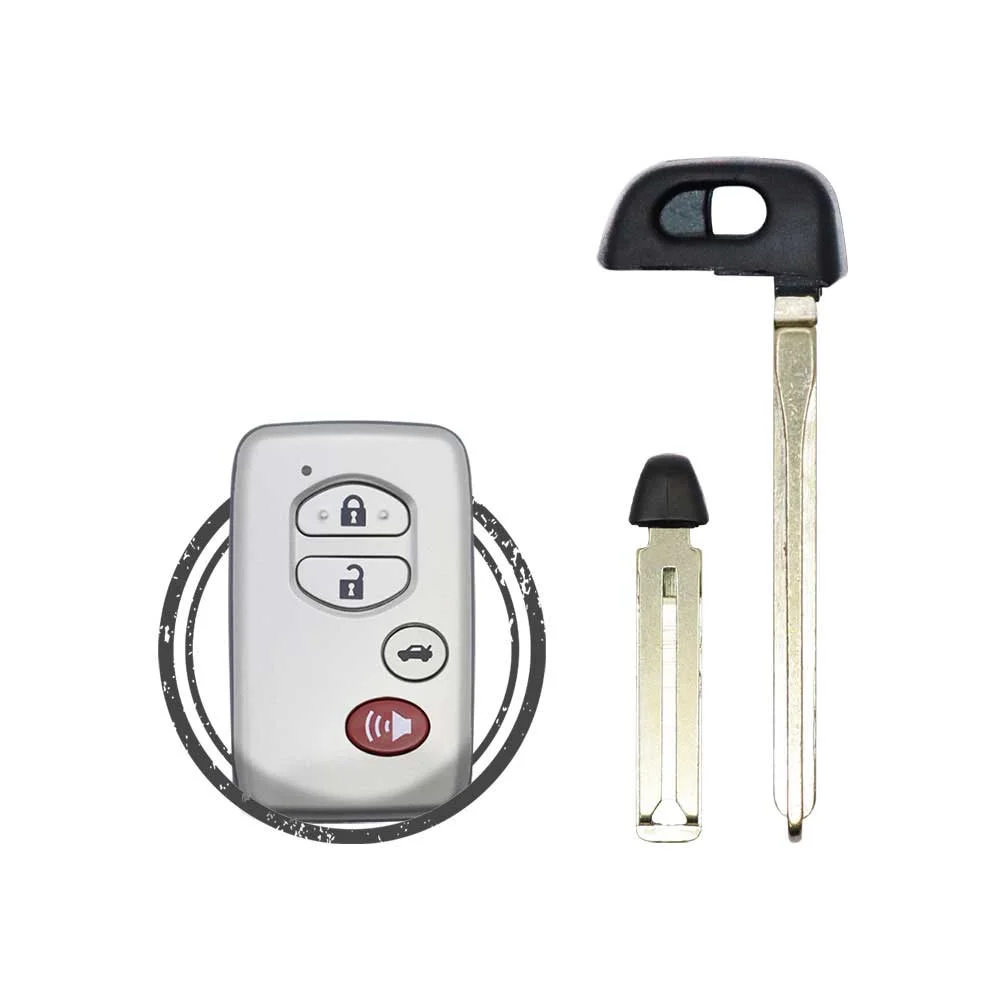
Keys that fit the 2005–2006 Toyota Avalon: smart keys and remote keys, 3 or 4 buttons, FCC ID GQ43VT20T, HYQ14AAF or HYQ14AAB, 4D-60 or 4D-67 chip, 315 MHz. 12 compatible keys, remotes & shells (genuine and aftermarket) available for the 2006 Toyota Avalon.

Last updated: 12 November 2026

Key specifications for the Toyota Avalon 2005–2006

Key types
smart keys, remote keys, key shells, emergency blades and key blanks
Frequency
315 MHz
Buttons
3- and 4-button
Transponder chip
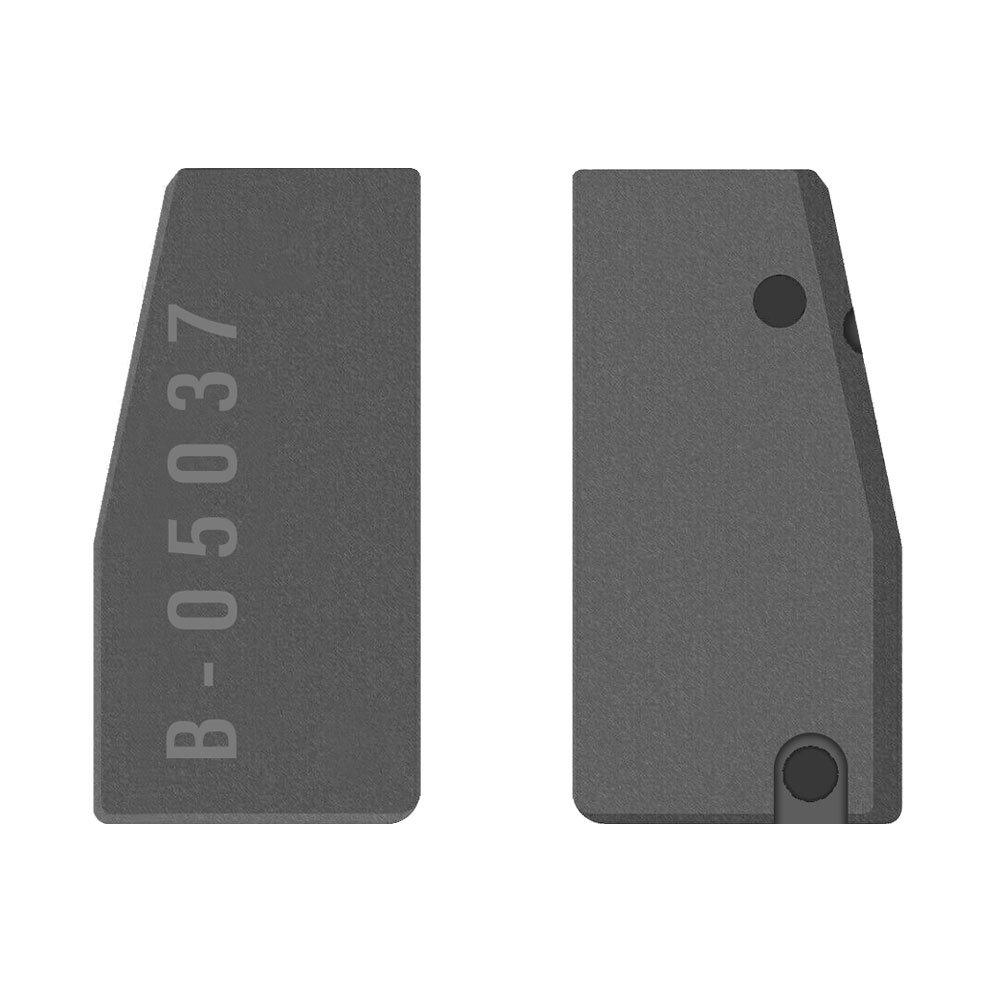
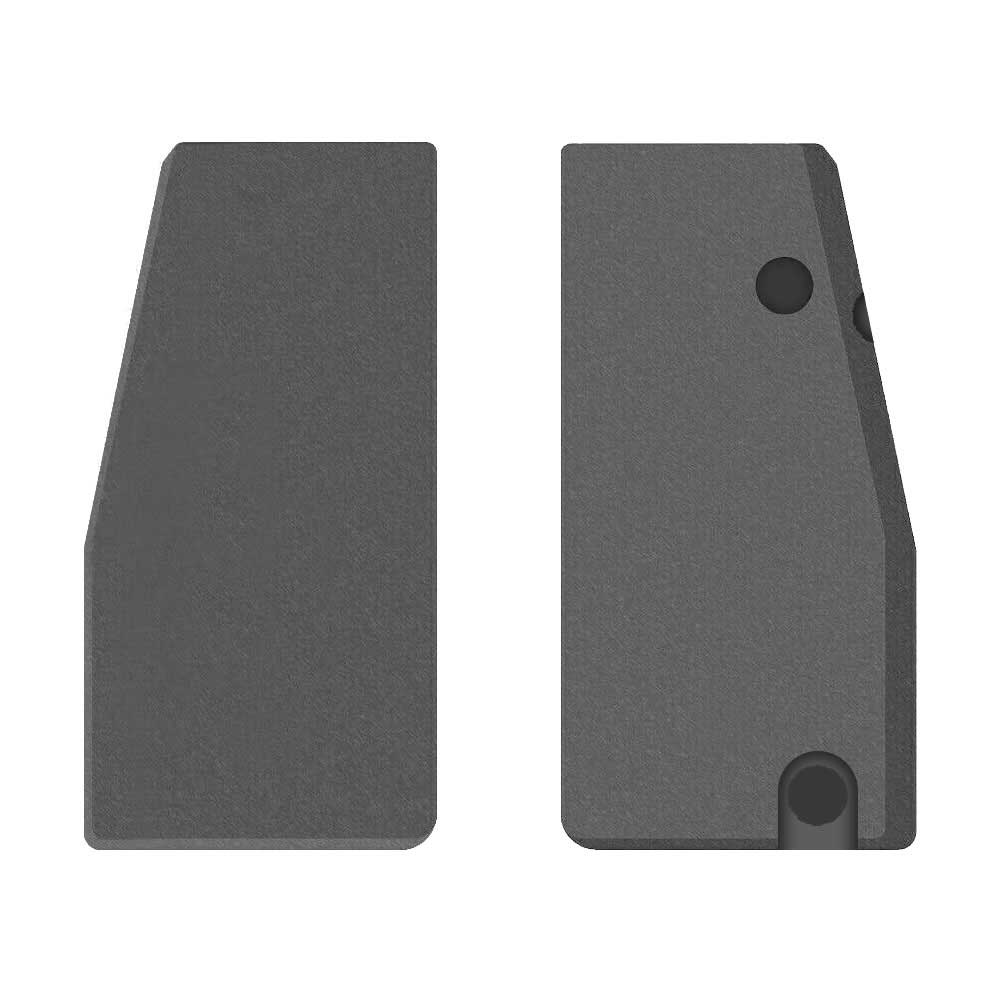
4D-60 · 4D-67 · 4D
Blade profile
TOY48
Part numbers
89904-07030 · 89742-07020
Battery
CR2032
Compatible FCC IDs

To pick the right part, match the part number or FCC ID printed on your original remote, or listed in the Toyota parts catalogue, with the specifications on each listing. Every remote listed for the Toyota Avalon 2005–2006 transmits on 315 MHz.

A new smart key or remote has to be programmed to the car with a key programmer, and when every key is lost the programming is still done through the diagnostic port. We ship the key worldwide from the UAE by DHL and FedEx; any automotive locksmith or the dealer can cut and program it.

Programming the Toyota Avalon 2006 key

Smart key (push to start)

4 tools list this key. 4 of them list all keys lost.

Programming steps

Add key - Autel MaxiIM IM508 / IM608

Needs: working smart key, new smart key for the car, internet connection (if the tool asks for the data backup)

  1. Connect the VCI to OBD. IMMO > Toyota > select the model > Smart key > Keyless system (CAN).
  2. If the tool asks for it, run Back up IMMO data first (online) and save the file.
  3. Add smart key: switch the ignition on with the working key, follow the prompts (ignition off, hazard lights on where asked).
  4. Hold the working key to the Start button until one beep, then the new key until two beeps.
  5. Switch on, touch a learned key to the Start button, then test start and the remote buttons.
Watch out: Bring every key the customer keeps; check the remote buttons on each after programming. The smart box has 5 key positions in the worked examples; erase unused keys if it is full.
All keys lost - Autel MaxiIM IM508 / IM608

Needs: APB112 smart key simulator, XP400 (IM508), new smart key for the car (OEM or Xhorse / Autel universal), internet connection, no PIN entry (data read by OBD)

  1. Connect the VCI to OBD (and the APB112 to the tablet). IMMO > Toyota > select the model > Smart key > Keyless system (CAN).
  2. Back up IMMO data (online): the tool reads the smart box EEPROM by OBD; save the file.
  3. Generate simulator key: load the saved file, confirm the key type, connect the APB112 and let it be written.
  4. Hold the APB112 against the Start button and press Start: the dashboard comes on.
  5. Add smart key: say yes to using the simulator; hold the APB112 to the Start button until one beep, then the new key until two beeps.
  6. Wait for Registering to finish, then test start and the remote buttons of the new key.
  7. If the customer wants the lost keys gone, delete the keys not present with the tool's key erase function.
Watch out: The car battery must be charged; the data backup needs an internet connection. The simulator / emulator is erased if you use the device for another key job before adding the key: add the new key straight after generating it. The smart box has 5 key positions in the worked examples; erase unused keys if it is full.

Key with a blade (regular or flip)

5 tools list this key. 5 of them list all keys lost.

  • Launch X-431 IMMO
    • Add key
    • All keys lost
    • Remote
  • OBDSTAR Key Master G3
    • Add key
    • All keys lost
    • Remote
  • XTOOL X100 PAD3 / X100 MAX
    • Add key
    • All keys lost
    • Remote
    • Add key
    • All keys lost
    • Add key
    • All keys lost

Programming steps

Add key - Autel MaxiIM IM508 / IM608

Needs: working master key, new key cut to the car with the same chip family (4D, G or H / 8A)

  1. Check the customer's key is a master: in the ignition the security light stays off (a valet key lights it for about a second).
  2. Connect the VCI to the OBD port. IMMO > Toyota > select the model and year > Blade key > Immobilizer, then the key learning function.
  3. Insert the working master key and switch the ignition on when asked.
  4. Remove it, insert the new cut key and leave the ignition off (if learning fails, run it again with the ignition on).
  5. Wait for the security light to go out: the key is learned. Check it switches on and starts.
  6. Remote-head key: in the tool's remote menu choose remote learning, switch on, open the driver door, then within 30 s hold LOCK + UNLOCK together for about 2 s and press LOCK once; test the buttons.
Watch out: A valet key cannot add keys: you need a master key. Use the chip family the car already has: a 4D key will not learn on a G car, a G key not on an H car.
Add key - Lonsdor K518ISE / K518S / K518 Pro

Needs: working master key, new key cut to the car with the same chip family (4D, G or H / 8A)

  1. Check the customer's key is a master: in the ignition the security light stays off (a valet key lights it for about a second).
  2. Connect the K518 by OBD. Immobilizer > Toyota > select the model and year (or the 4D-G type menu) > Mechanical key > Add key.
  3. Insert the master key and switch the ignition on.
  4. When asked, insert the new cut key and switch the ignition on and off as the tool prompts.
  5. Wait until the tool reports the key programmed, then test that it starts.
  6. Remote-head key: in the tool's remote menu choose remote learning, switch on, open the driver door, then within 30 s hold LOCK + UNLOCK together for about 2 s and press LOCK once; test the buttons.
Watch out: A valet key cannot add keys: you need a master key. Use the chip family the car already has: a 4D key will not learn on a G car, a G key not on an H car.
All keys lost - Autel MaxiIM IM508 / IM608

Needs: new keys cut to the car with blank 4D-67/68 or G chips, no PIN entry (the tool resets by OBD)

  1. Cut the new keys first, with the chip family of the car (4D-67/68 or G).
  2. Connect the VCI to the OBD port. IMMO > Toyota > select the model and year > Blade key > Immobilizer > All keys lost (immobilizer reset).
  3. Answer how many keys you will register and keep the driver door open during learning.
  4. Follow the ignition prompts (off, on, off and remove the key, on again) while the tool resets the immobilizer.
  5. Within 120 s register the keys: insert a master key, switch on and wait 5 s; repeat for each further key; with only one or two keys, finish by switching the ignition on and off quickly 5 times.
  6. The security light goes out when programming is done. Test every key.
  7. Remote-head key: in the tool's remote menu choose remote learning, switch on, open the driver door, then within 30 s hold LOCK + UNLOCK together for about 2 s and press LOCK once; test the buttons.
Watch out: The reset erases every registered key: bring every key the customer will keep and program them in the same session. You have about 120 s after the reset to register the keys; have them cut and on the bench before you start. Battery charged and steady during the reset. Not for H (8A) blade cars: see the 8A all-keys-lost entries.
All keys lost - Lonsdor K518ISE / K518S / K518 Pro

Needs: new keys cut to the car with blank 4D-67/68 or G chips, Lonsdor chip written as Toyota G (optional, G cars), no PIN entry (the tool resets by OBD)

  1. Cut the new keys first. For a G car the chip must be a Toyota G (80-bit); a Lonsdor blank can be written as Toyota G in the K518 (Generate key chip) before you start.
  2. Connect the K518 by OBD. Immobilizer > Toyota > select the model and year > Mechanical key (4D or G type) > Reset immobilizer (all keys lost).
  3. Follow the ignition prompts (off, on, off and remove the key, on again) while the tool resets and configures the immobilizer.
  4. Within 120 s register the keys: insert a master key, switch on and wait 5 s; repeat for each further key; with only one or two keys, finish by switching the ignition on and off quickly 5 times.
  5. The security light goes out when programming is done. Test every key.
  6. Add further keys later with the normal add-key routine and one of the new masters.
  7. Remote-head key: in the tool's remote menu choose remote learning, switch on, open the driver door, then within 30 s hold LOCK + UNLOCK together for about 2 s and press LOCK once; test the buttons. Remotes not learned in this step stop working.
Watch out: The reset erases every registered key: bring every key the customer will keep and program them in the same session. You have about 120 s after the reset to register the keys; have them cut and on the bench before you start. Battery charged and steady during the reset. Not for H (8A) blade cars: see the 8A all-keys-lost entries.

Key type not stated by the list

One tool lists this key.

Without a tool

The remote is programmed on the car, without a tool.

Programming steps

Program the remote without a tool(US / Canada cars)

Needs: Every remote to be programmed, A key that fits the ignition

  1. Start with the key out, the driver's door open and unlocked, and every other door closed.
  2. Within 5 seconds, insert the key without turning it and pull it out, two times.
  3. Within 40 seconds, close and open the driver's door twice, then insert the key and pull it out once.
  4. Within the next 40 seconds, close and open the driver's door twice, insert the key and leave it in, then close the driver's door.
  5. Turn the ignition to ON without starting, back to OFF, and remove the key.
  6. Within 3 seconds the locks lock and unlock by themselves: the car is in programming mode. If they do not, start again from step 1.
  7. Within 40 seconds, hold LOCK and UNLOCK together on the remote for 1.5 seconds.
  8. Right after releasing them, hold LOCK alone for 2 seconds.
  9. Within 3 seconds the locks lock and unlock once: the remote is accepted. Two cycles mean it was not accepted, repeat steps 7 and 8.
  10. Repeat steps 7 to 9 for each extra remote.
  11. Open the driver's door to end programming.
Watch out: Keep each time window: 5 seconds, then 40 seconds, then 40 seconds; the remote step also has 40 seconds.

When the key changed

Smart key (push to start)

  • 2005 - 2012This yearChip: 4D315 MHzFCC: HYQ14AAF, HYQ14AAB(US / Canada cars)Push-to-start trims only
  • 2013 - 2022Chip: 8A315 MHzFCC: HYQ14FBA, HYQ14FBE(US / Canada cars)
  • 2018 - 2020Chip: 8A433 MHz(GCC / Europe cars)

Key with a blade (regular or flip)

  • 1998 - 2004Chip: 4CBlade: TOY43
  • 2005 - 2012This yearChip: 4D-67Blade: TOY43(US / Canada cars)Overlap years may be 4D-67 or G; G is stamped on the blade

Check coverage first: support depends on the tool's software version and the exact model. A tool that is not shown here may still cover this car.

Frequently asked questions

Which keys fit the Toyota Avalon 2005–2006?

12 listings fit the Toyota Avalon 2005–2006: smart keys, remote keys, key shells, emergency blades and key blanks, in 3- and 4-button versions. Match the part number or FCC ID printed on your original key with the specifications on each listing.

What frequency does the Toyota Avalon 2005–2006 remote use?

Every remote listed for the Toyota Avalon 2005–2006 transmits on 315 MHz.

Which transponder chip does the Toyota Avalon 2005–2006 key use?

The listings for this car carry: 4D-60 · 4D-67 · 4D. Check the chip in each listing's specifications.

Which FCC IDs do Toyota Avalon 2005–2006 remotes carry?

The remotes listed for this car carry FCC ID GQ43VT20T, HYQ14AAB and HYQ14AAF. Match it with the FCC ID printed on your original remote.

Which blade profile does the Toyota Avalon 2005–2006 key use?

The blades listed for this car: TOY48.

Which tools program a Toyota Avalon 2005–2006 key?

The tool makers' coverage lists name OBDSTAR Key Master G3, Autel IM608 II / IM608 Pro II, Xhorse VVDI Key Tool Max, Xhorse VVDI Key Tool Plus, Launch X-431 IMMO and XTOOL X100 PAD3 / X100 MAX for this car; 6 of them list all keys lost. Check your tool's latest coverage list before the job.

Can the Toyota Avalon 2005–2006 remote be programmed without a tool?

The remote is programmed on the car, without a tool.